Problem: Create a customer based product while working at a small scale, using high fire glaze and clay, using efficient methods to create the piece all while considering customer attraction.
Vending and selling artwork is a tricky activity to partake in. You have to think of items that will hit the market and how much to sell these items for. When I am prepping for an event, a bunch of questions go through my head. What kind of event is it? What kind of customers will be at this event? What area is this event in? What time of year is it? How long is the event? What do I have time to make? How much time will go in to what i’m making? How much am I going to sell these items for? What will my setup look like? What will I have on my table to attract customers? Bags and stickers? Free item with every purchase? The list goes on. I won’t continue listing off my internal monologue.
For this problem my customer market was college students a week before Christmas break. I had to think of something to make that other students would like, that could be priced for their budget, and that would catch eyes. Another factor that I always like to think about when making ceramics is making something functional. Since anything I make and finalize in ceramics is going to be around forever, I like to make sure that it will be usable for as long as it exists. This is what will keep my ceramics as environmentally friendly as possible.
My solution to this problem is jewelry / ring dishes. Students, even myself, wear so much jewelry and specifically rings as a way to show off personal style. Usually people like to have these jewelry pieces out on their desk as a way to have easy access to them and for a level of decoration. One thing that I have realized about my specific market of people is that we love to have things visible so that other people can see it. Maybe that is a way to show our style or to show what we have so people can see that we are cool. Whatever the reason is, there is a market for it.
These are some of the jewelry dishes after they have been thrown and underglazed. In order to make these I used half pound balls of clay and centered the clay like normal. Then, instead of opening up the clay right in the center I opted for opening it up and leaving a small amount of clay in the center. I worked with the outside part of the centered clay and to create a shallow bowl type form to create the base part of the dish. Once I was satisfied with this section I started working with the center piece. I used the same type of technique as I do with wheel wedging. Bringing the clay up with two walls. Instead of using my hands since the center clay is so small, I used my two pointer fingers to pinch the clay and make it tall. This is what created the pole that the rings will sit on.

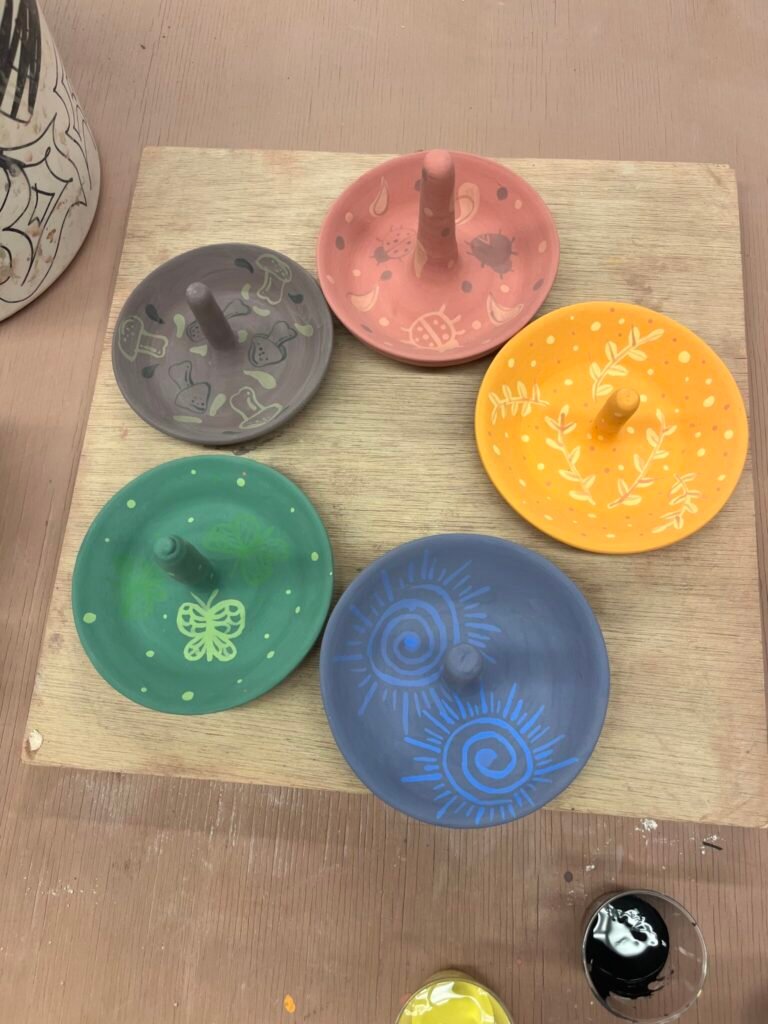
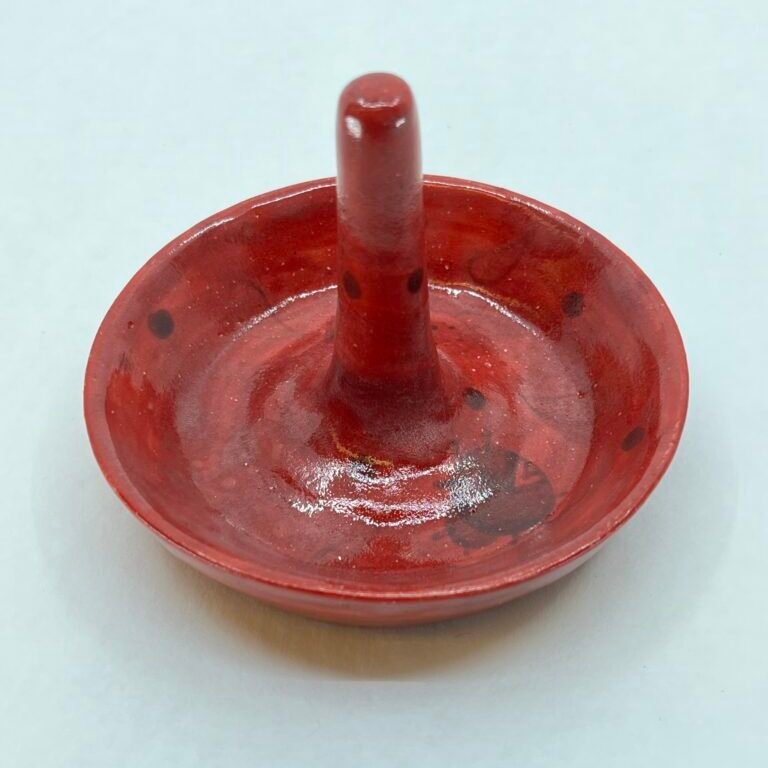
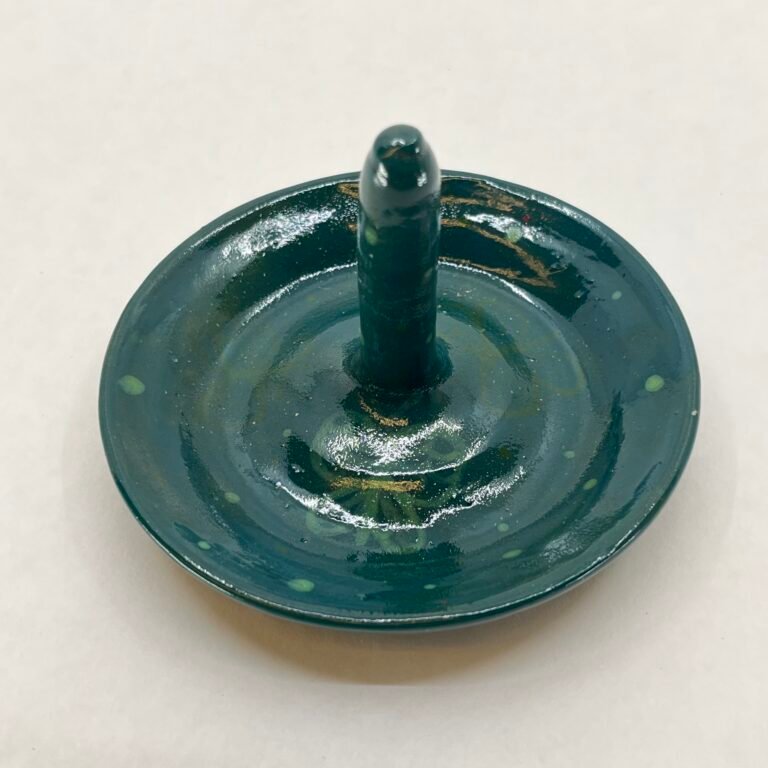
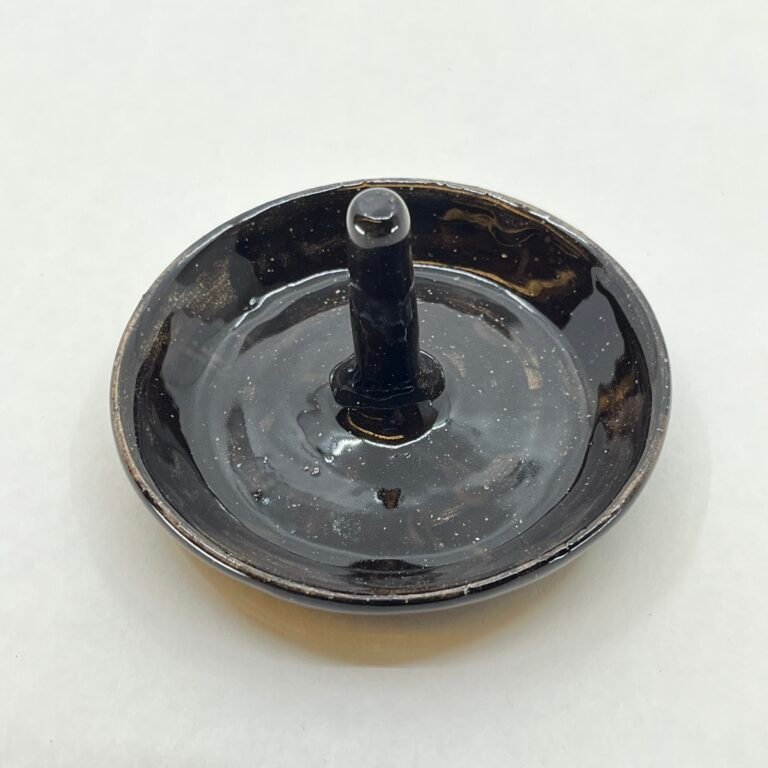
Since I was creating 10 of the same form I wanted each one to be different. Five out of 10 of the forms had an underglaze design on them using the Amaco underglazes. For the other five forms I used cone 10 glazes that were created by my classmates. Since these pieces were going to be used as decoration and would (hopefully) not be used for food or drink, I did not have to worry about making sure the glazes were food safe which opened up a lot of different possibilities. These glazes were in their testing stage meaning they were freshly mixed and have only been used on test tiles so I had to be careful with how I used them as to not ruin the kiln shelves with dripping or running. In order to do this I used the cone 10 glazes on the inside of the piece only and then used the cone 10 clear glaze on the outside.

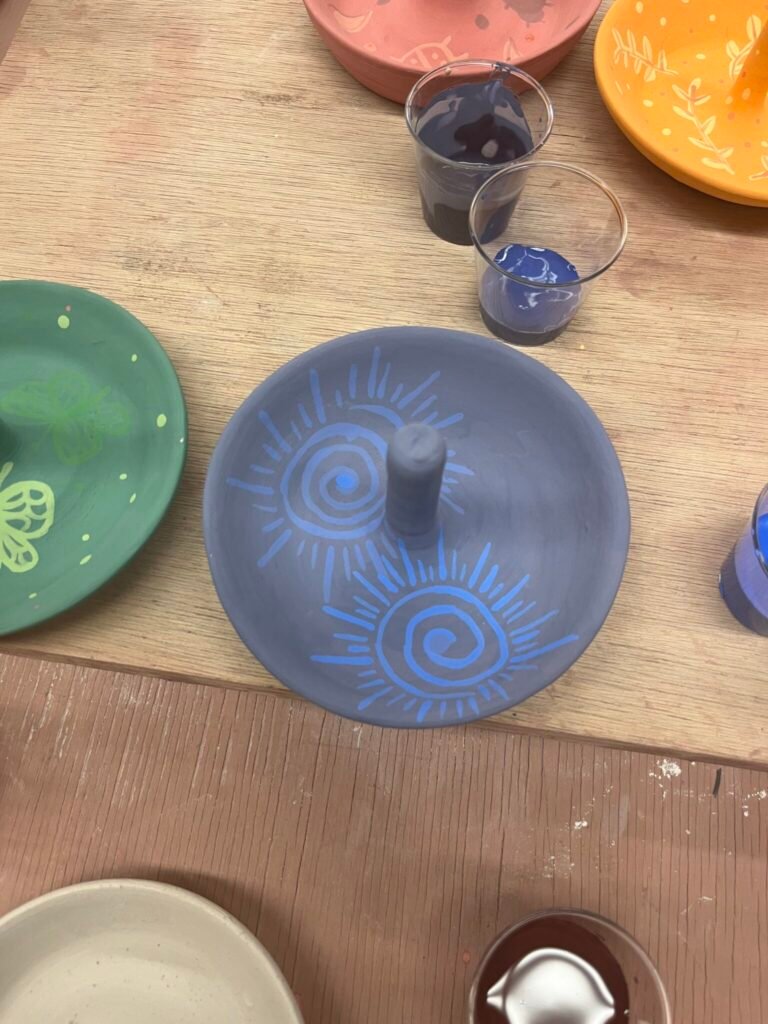
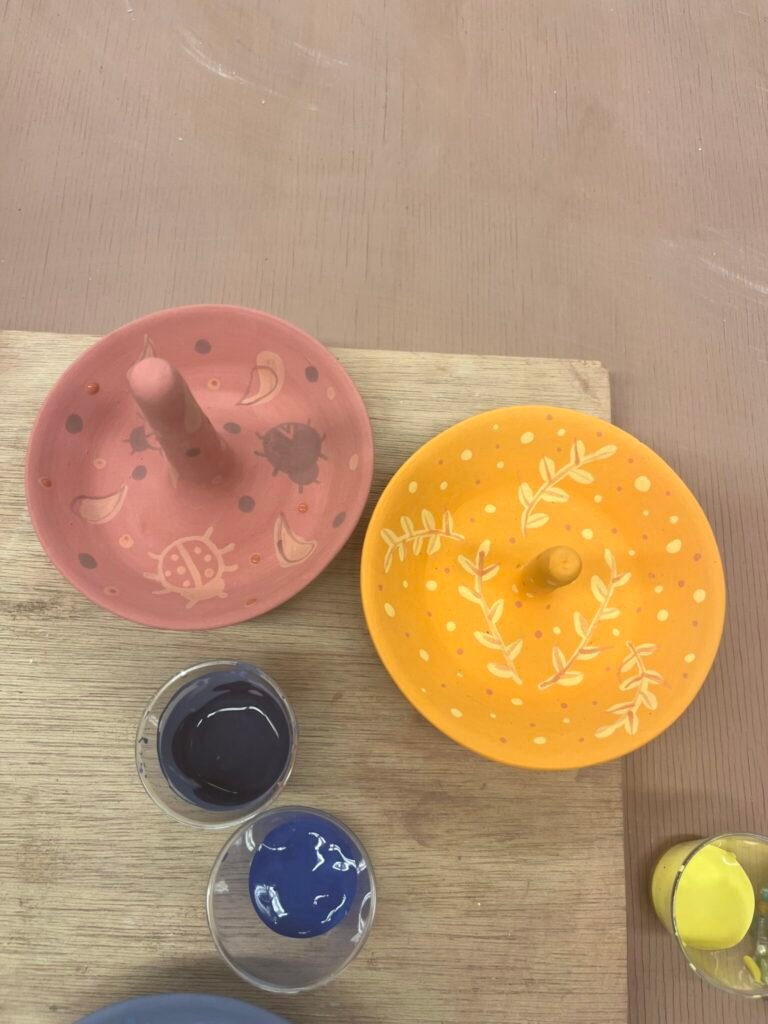
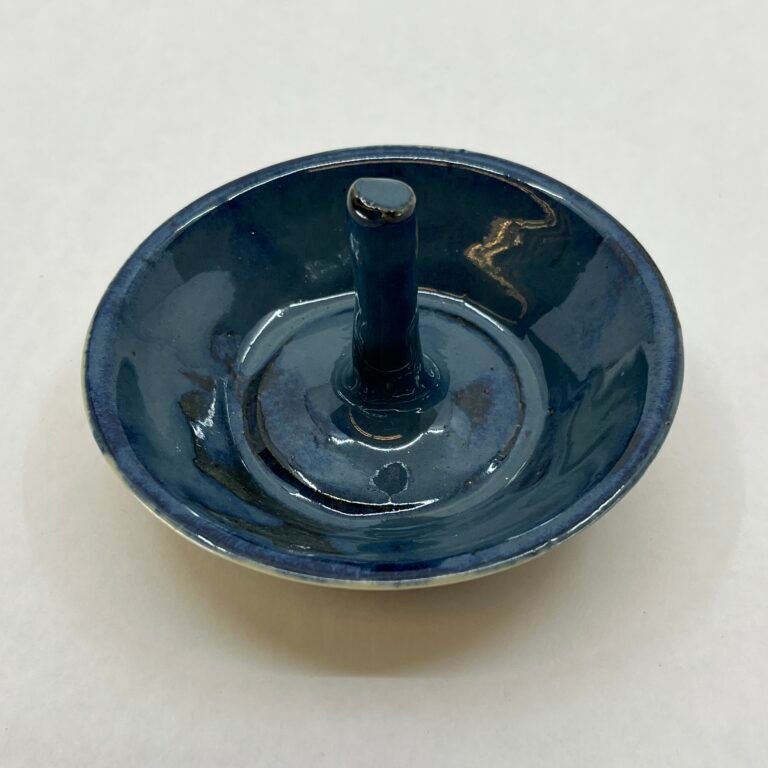
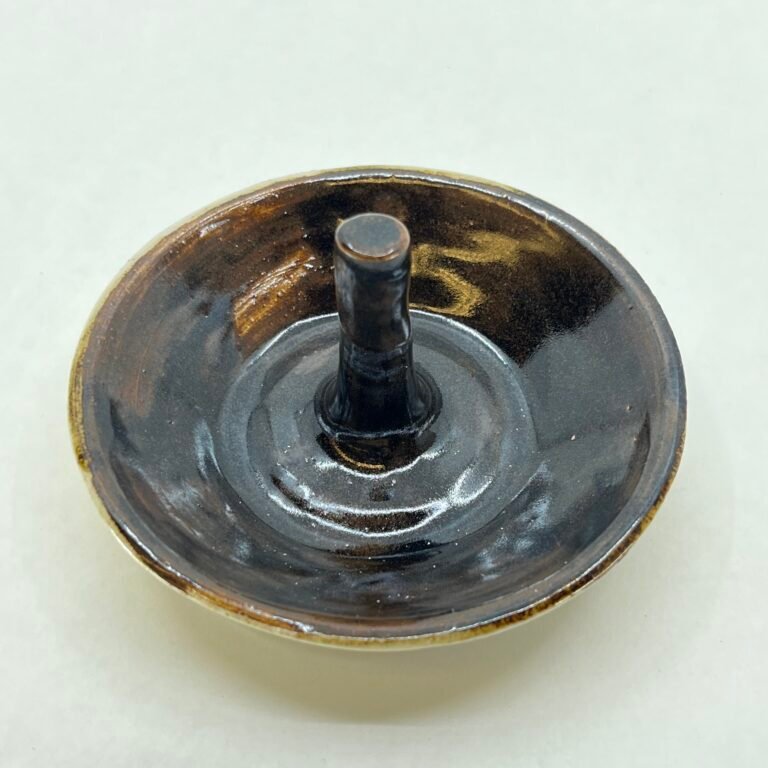
These are the forms with the underglaze designs after using the cone 10 clear glaze. As you can see the clear glaze made the underglaze appear darker compared to the pictures of them pre bisque firing. The form on the bottom left was a blue underglaze which looks black after firing. The form on the bottom left was a brown underglaze that had black underglaze designs and light brown designs and after the clear glaze they are almost unrecognizable If I were to use this design process again then I would change around the underglazes so there is more of a contrast between the base coat and the design.
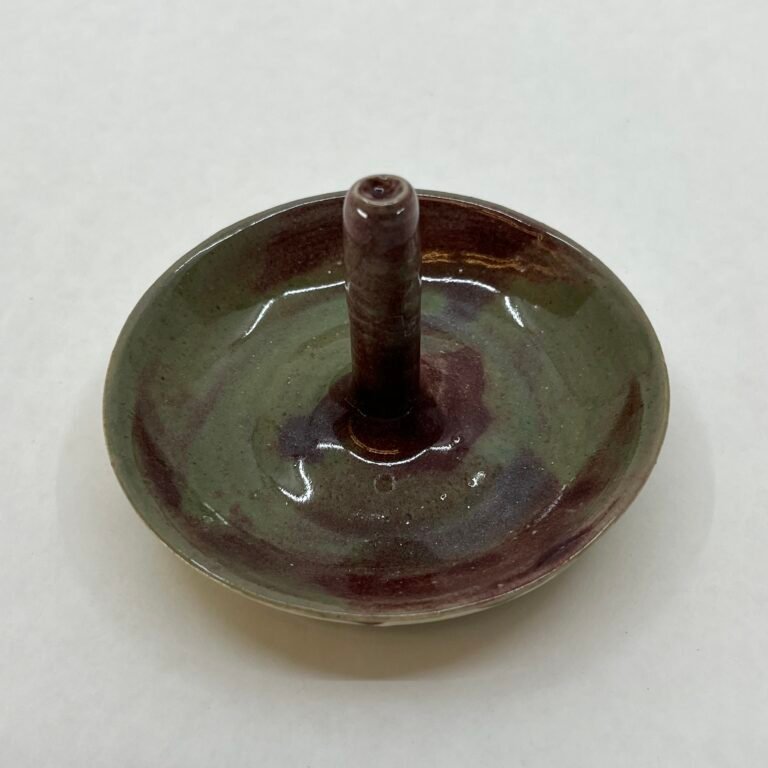
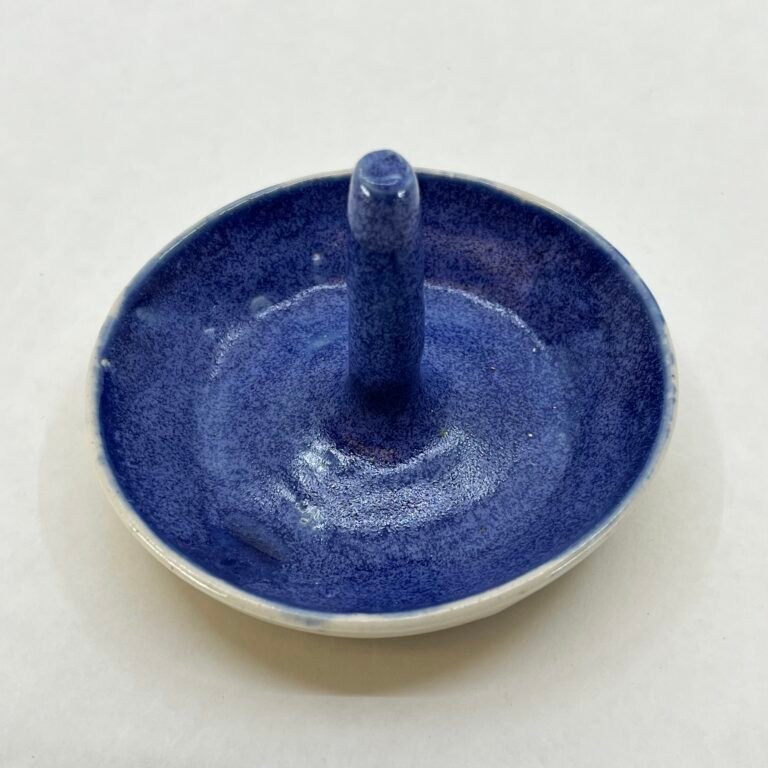
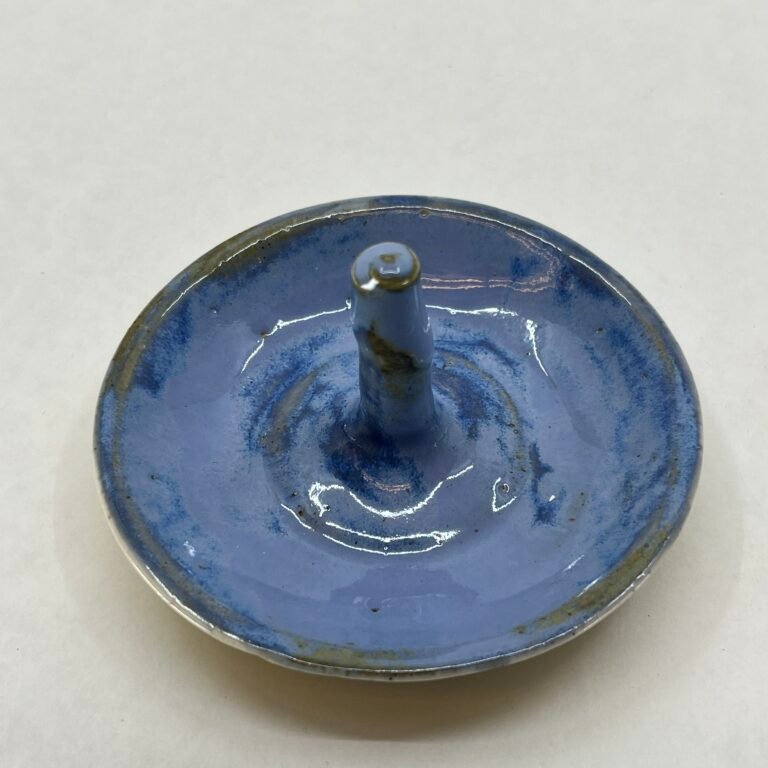
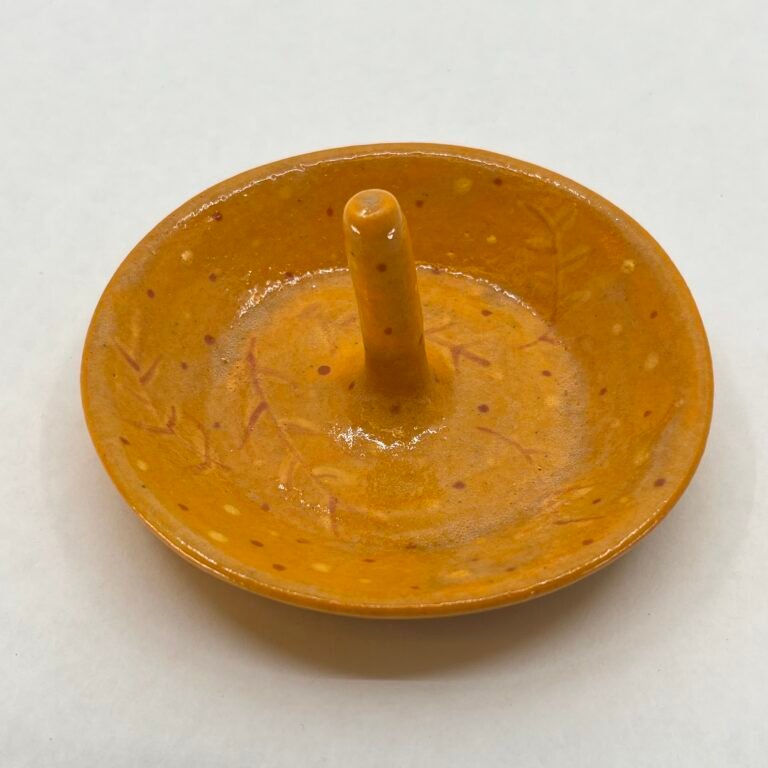
These are the forms with the cone 10 test glazes. You can see that I have only brushed on the glazes on the inside on the forms since some of then are too runny to protect the kiln shelves. These pieces were perfect for testing these glazes on a larger surface and having a bit of variety within the pieces.
Now it is time to think about production, but specifically the part where I produce them to customers. Each dish took me about five minutes to throw. No trimming was involved. The dishes that had the underglaze designs on them took about ten minutes each to do the intricate designs and the dishes with the cone 10 glazes took around five minutes to glaze the inside and out. If I multiply the amount of time it took to make and decorate these pieces times the amount of forms it comes out to around two hours. This is not including the drying and firing time since these steps are done by the clay itself and the kiln. Another factor that might go into price marking is the material cost. Lucky enough my materials are basically “free” since I am not seeing the payment for my clay and glaze that are being used. But, my lab fee is $150 which can be thoguht about while price marking.
While price marking I also have to think about the customers. My customers for these specific objects are broke college students like myself who might not have big bucks to spend on a ring dish. All of these factors went into the thought process of the price for these pieces which is why I marked them at $13 a piece. $15 is around the max I have seen fellow students give up for a handmade piece of art at on campus art markets and given that these are well favorable to the market I am selling to, I did not feel the need to price them more than a profitable price. (Keeping in mind any sale I make from these dishes is a profit since I did not pay for my materials directly). Another helpful trick I like to use is asking my friend their non biased opinion on the price. This always helps me keep in mind how much other people who did not make the art think the art piece is worth.
Leave a Reply